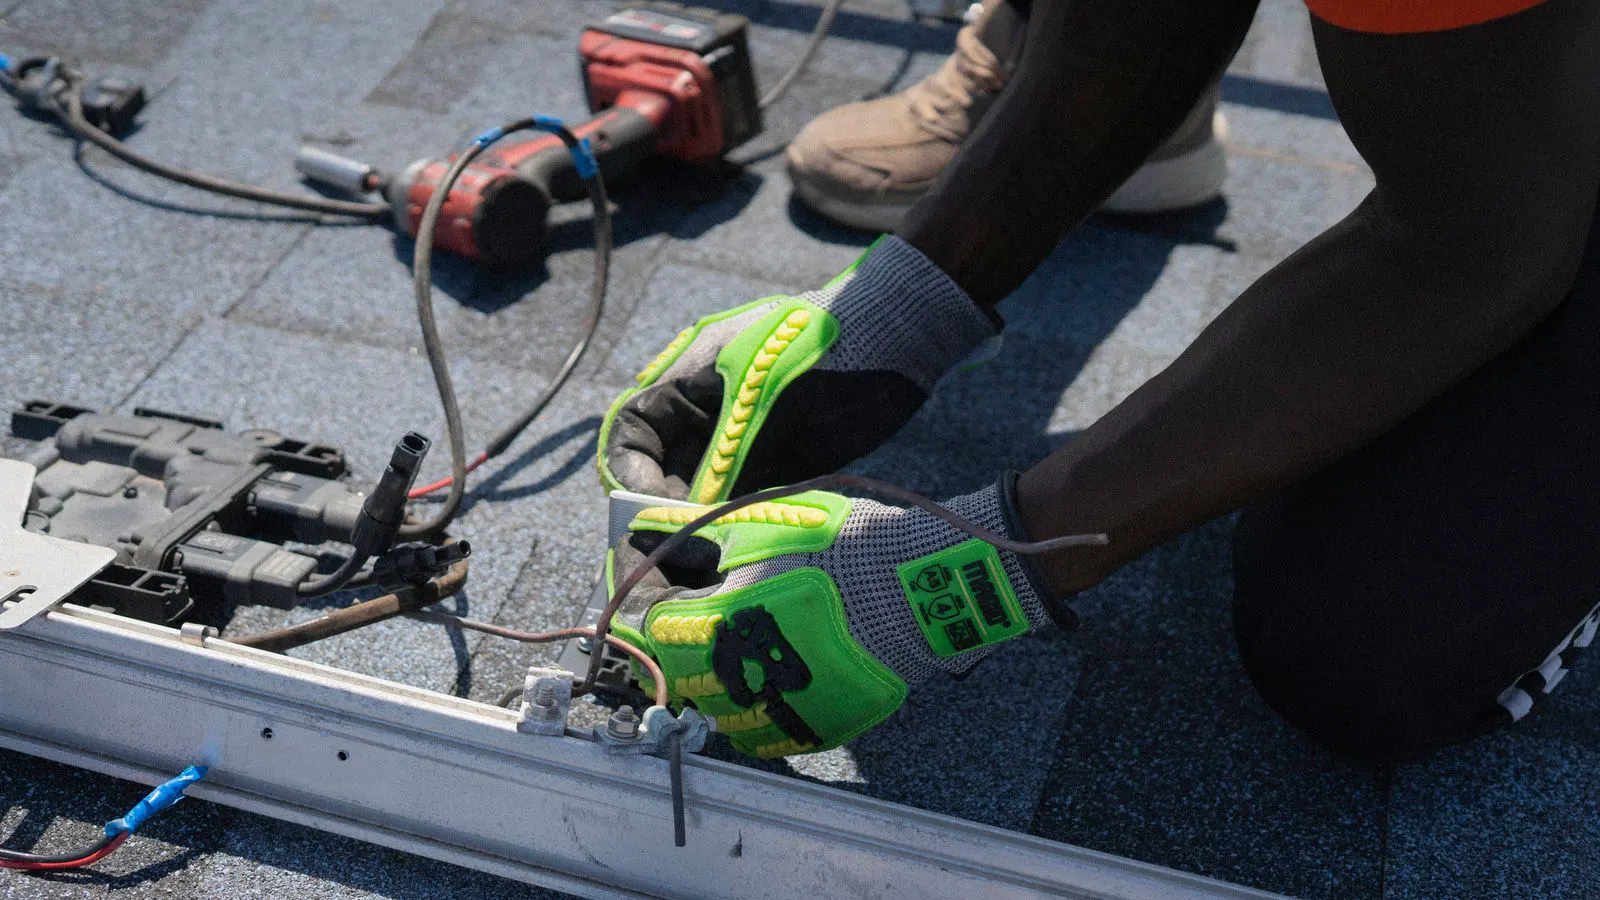
Fixing Bolt Torque Failures in Steel Racking
Loose fixing bolts in solar racking compromise structural integrity. This guide identifies common symptoms, likely causes, and corrective actions. It also covers prevention strategies to protect system performance and safety.
- Check bolt torque with calibrated tools during final inspection.
- Use correct fastener grades for load ratings and environmental conditions.
- Record torque values in project documentation for future audits.
- Address stripped threads immediately to prevent progressive failure.
- Re-inspect fasteners after significant weather events or system adjustments.
Why Fixing Bolt Torque Failures Matter for System Safety
A loose fixing bolt can become a structural failure point. In steel racking, these fasteners connect rails, posts, and mounting plates. When torque drops below specification, the joint loses preload. The result is movement, vibration, and eventual separation under wind or dead load.
This issue affects structural integrity directly. It also impacts the total cost of ownership for the project. Repairing a failed connection after failure costs more than proper installation. It can trigger re-inspection, permit review, or even partial dismantling.
The following sections address the most common failure patterns. They also cover practical checks that field crews can apply during commissioning and maintenance.
Identifying Symptoms of Torque Failure in Steel Racking
Field crews need a clear method to spot problems before they escalate. Visual checks and tactile feedback are the first line of defense. Each symptom points to a specific mechanical issue.
| Symptom | Likely cause | What to do |
|---|---|---|
| Visible gap between rail and post flange | Insufficient torque during installation | Re-torque to manufacturer specification. Replace fastener if threads are damaged. |
| Bolt head rotates freely under hand pressure | Stripped threads in bolt or hole | Remove fastener. Drill out if necessary. Install new fastener with correct thread form. |
| Uneven contact surface on mounting plate | Misaligned hole or warped component | Remove bolt. Realign components. Apply torque in cross pattern. |
| Rust streaks radiating from bolt head | Trapped moisture or poor sealing | Clean area. Apply corrosion resistant lubricant if compatible. Re-torque. |
| Bolt shank bends or deforms | Over-torquing or hardening of fastener | Replace fastener. Review installation procedure. Check tool calibration. |
| Multiple bolts loose in same joint | Foundation settlement or thermal movement | Measure joint gap. Re-level structure if possible. Re-torque all fasteners in the joint. |
These symptoms often appear together. A single loose bolt may indicate a broader issue with the installation method. Document each finding with photographs. Record the location and the bolt count. This creates a baseline for corrective action.
Common Causes of Loose or Stripped Fasteners
Most torque failures trace back to a few root causes. Understanding them helps prevent recurrence.
- Incorrect fastener grade. A standard bolt used in a high wind zone may lack the shear strength needed. The thread form also matters. Coarse threads handle general loads. Fine threads offer better clamp force in precision joints.
- Inconsistent torque application. Hand tightening or uncalibrated tools produce variable results. A bolt that feels tight may still be below specification.
- Surface contamination. Oil, paint, or rust on the mating surfaces reduces friction. This changes the relationship between torque and clamp force.
- Thermal cycling. Steel expands and contracts with temperature changes. Repeated cycles can loosen a joint that was properly torqued initially.
- Vibration. Wind loading causes micro-movement. Without lock features, the fastener can work loose over time.
The interaction between these factors is complex. A single bolt may fail because of one issue or a combination. This is why systematic inspection matters. It isolates the cause and targets the fix.
Corrective Actions for Failed Fixing Bolts
Corrective work must restore the original clamp force. The process depends on the severity of the damage.
For a loose bolt with intact threads, re-torque is the standard fix. Use a calibrated torque wrench. Apply torque in the sequence specified by the manufacturer. For multi-bolt joints, use a cross pattern. This ensures even seating.
For stripped threads, replacement is necessary. If the bolt is stripped, remove it. If the hole is stripped, a thread insert may be an option if it fits the design load. Otherwise, drill out the hole and tap a new size. This requires engineering approval. Do not guess the replacement specification.
When a mounting plate is warped, re-torquing alone will not solve the problem. The plate must be replaced or the joint redesigned. A warped plate creates uneven stress. The bolt may feel tight but the contact area is insufficient.
After any corrective work, re-inspect the joint. Check for alignment. Verify that the bolt head sits flush. Confirm that the washer, if used, is seated correctly. Record the new torque value in the project log.
Prevention Strategies for Long Term Reliability
Prevention reduces the cost of rework. It also protects the safety case for the installation. The following practices are standard in professional solar mount installation.
Use calibrated torque tools for every fastener. Calibrate tools on a regular schedule. Record the calibration date. If a tool is out of calibration, stop work on that joint.
Apply thread lubricant or anti-seize compound only as specified. The coefficient of friction changes with lubrication. This affects the torque to preload relationship. A dry thread requires different torque than a lubricated one.
Install lock washers or thread locking compounds where the design calls for them. These features resist vibration. They do not replace proper torque, but they add a safety layer.
Inspect fasteners during commissioning. A final torque check after the array is fully connected catches issues that appear during assembly. The additional load from panels can shift components slightly.
Plan for re-inspection. Thermal movement and wind loading change over time. A schedule for periodic checks keeps the system within specification. This is especially relevant in exposed locations.
Integration with Permitting and Compliance
Solar permitting often requires proof of structural compliance. Torque records are part of that evidence. The local authority may ask for installation logs. These logs should show the torque value for each critical joint.
If a permit application includes structural calculations, the installation must match those assumptions. A loose bolt changes the effective load path. This can create a non-conformance. Correcting it may require notifying the permit holder.
Keep documentation organized. Store torque sheets with the as-built drawings. Reference the fastener specification in the same document. This makes audit preparation faster. It also clarifies responsibility if a failure occurs.
The interaction between cost and compliance is direct. Poor torque control increases repair costs. It also risks permit non-conformance. Preventing the failure is less expensive than managing the failure.
Cost Implications of Torque Failures in Solar Racking
The direct cost of a loose bolt is small. The indirect cost is significant. A single failed joint may require access scaffolding or a crane. It can delay grid connection. It can trigger a third party inspection.
Preventive maintenance costs are lower. Calibrated tools, thread locks, and periodic inspection are modest investments. They protect the structural integrity of the racking. They also support the solar racking cost budget by avoiding major rework.
When comparing material and labor, torque control falls under labor. A skilled installer with the right tools reduces rework. An untrained crew with uncalibrated tools increases it. The difference shows up in project timelines and warranty claims.
Tracking torque data helps identify patterns. If one area of the site consistently shows loose bolts, investigate the cause. Is the foundation settling? Is the fastener supply inconsistent? Is the installation method flawed? Early detection saves money.
Final Checks Before Grid Connection
Before the system goes live, run a final verification. Walk the array. Check every visible fastener. Use a torque wrench on a sample. Verify that the sample size covers different orientations and heights.
Check for any movement under hand pressure. A properly torqued bolt should not rotate. A joint should feel rigid. If any joint feels soft, stop. Investigate before proceeding.
Document the final check. Include dates, names, and torque values. Store the record with the project files. This creates a clear baseline for future maintenance.
A well maintained racking system performs reliably for its design life. Torque control is the foundation of that performance. It is a practical step that requires discipline. It is also a cost control measure.
Frequently asked questions
How often should I re-check fixing bolt torque?
Re-check fasteners after major weather events and during periodic maintenance. The exact interval depends on the environment and the system design.
Can I use a regular socket wrench for torque checks?
A regular socket wrench cannot measure torque accurately. Use a calibrated torque wrench for verification and correction.
What if a bolt is too tight and the threads strip?
Remove the fastener. Assess the damage to the hole. Replace the fastener and the hole if necessary. Follow the manufacturer specification for the replacement.
Does wind loading cause bolt loosening?
Wind loading causes cyclic movement. Without lock features, this can work fasteners loose over time. Lock washers or thread locking compounds help.
Do I need engineering approval to replace a fastener?
Yes, if the replacement changes the load path or the thread size. For like-for-like replacement, follow the original specification. When in doubt, consult the structural engineer.