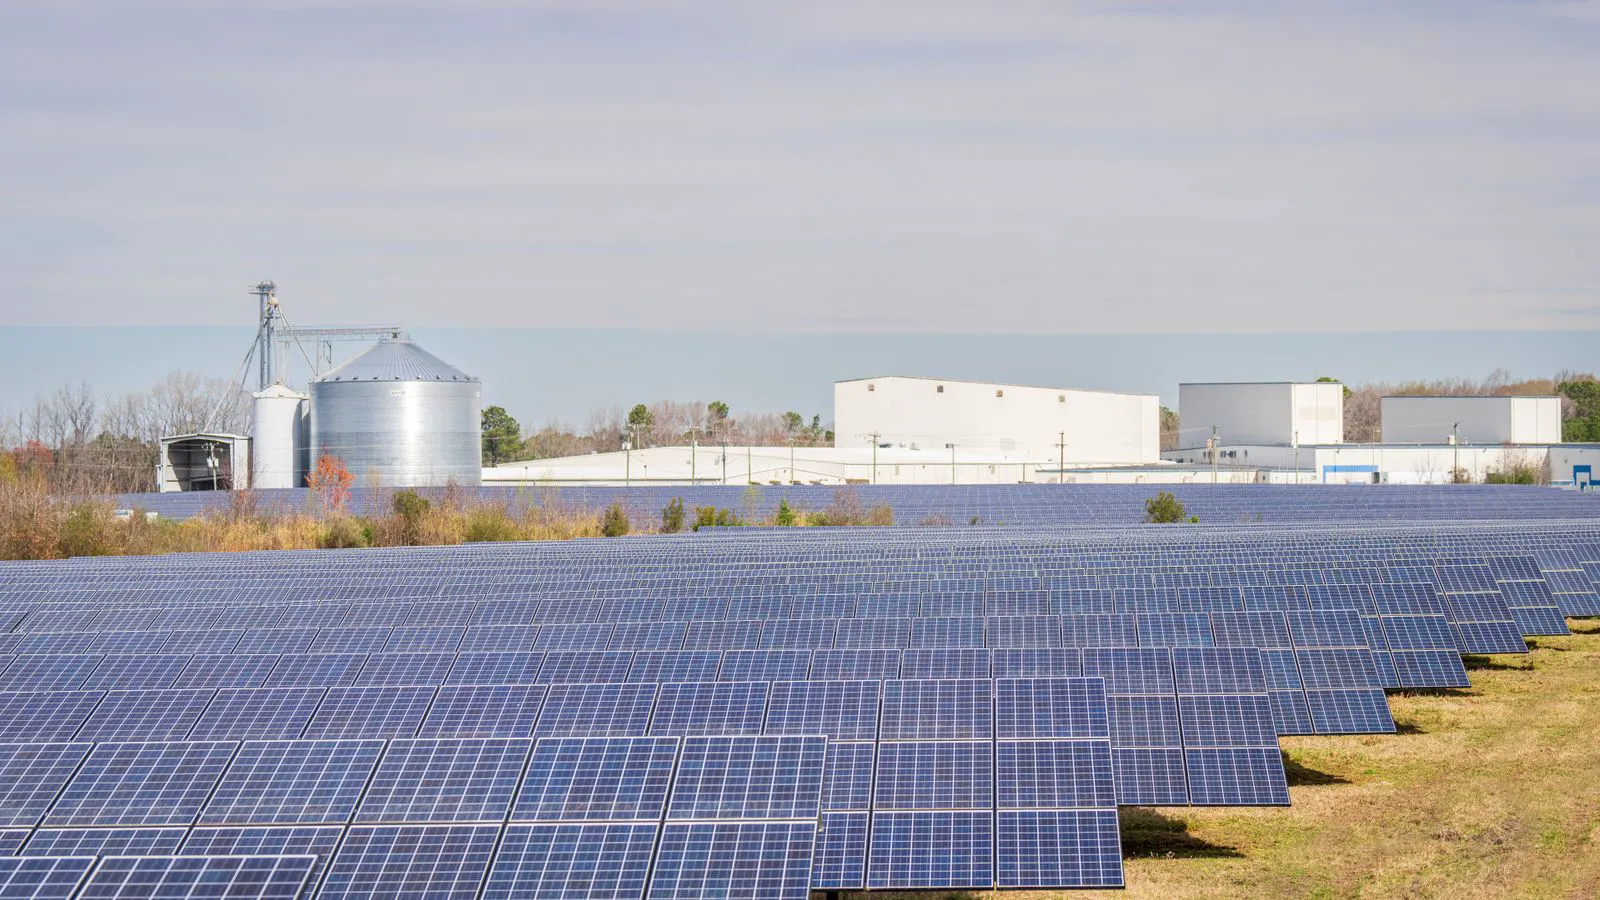
How to Prepare a Solar Site for Ground Mount Foundations

Solar site prep requires surveying, grading, soil testing, and utility coordination. Proper preparation prevents structural failure, drainage issues, and costly rework during ground mount foundation installation.
- Site grading must direct water away from foundation pads before concrete is poured.
- Soil testing determines allowable bearing capacity and whether deep or shallow foundations are needed.
- Surveying and staking should verify setback distances, access routes, and utility line locations.
- A final pre-pour inspection catches errors that are expensive to fix after concrete sets.
Why Solar Site Prep Determines Foundation Performance
Ground mount foundations perform based on the condition of the soil beneath them. A shallow pad poured into poorly graded, soft earth will drain poorly, shift as the ground freezes and thaws, and transmit uneven loads into the rack system. Proper solar site preparation begins long before the first foundation pad is poured. It involves understanding the interaction between the ground, the engineering assumptions, and the physical constraints of the site.
The goal is straightforward. Create a stable, predictable base that matches the load assumptions in the engineering drawings. If the site does not meet those assumptions, the foundation design must change before the concrete is placed. Ignoring this step often leads to rework, warranty claims, and structural concerns that are difficult to resolve after the array is operational.
What to Confirm Before You Start Digging
Before mobilizing crews or ordering materials, confirm the following items:
- The engineering set is issued for construction, not just for design review.
- The site survey matches the layout in the engineering drawings.
- Utility and telecom line locations are marked and verified by a licensed locator.
- Access routes for trucks, compactors, and concrete pumps are clear of obstacles.
- Local permits for grading, drainage, and foundation work are approved and posted.
Missing any of these items will stop work at the worst possible time. A crew cannot grade if the utility lines are unmarked. A concrete pour cannot proceed if the engineering set is still in a design review stage. These pre-checks are not bureaucratic hurdles; they are the safety checks that prevent physical damage and schedule delays.
Step 1. Clear Vegetation and Identify Obstructions
Remove topsoil, grass, shrubs, and debris from the entire installation footprint. This reveals rocks, old footings, buried utilities, and low spots that are not visible under vegetation. The removal process should be mechanical, using skid steers or excavators, to expose the native soil without disturbing the subgrade unnecessarily.
Clearing the site also gives you a true surface to work from. If you grade over hidden depressions, water will collect under the surface and undermine pads later. Vegetation often masks the natural contours of the land. Once the ground is bare, you can see the flow paths, the high spots, and the areas that need earthwork. This step prevents the surprise of finding a buried drain tile or a large boulder during the compaction phase.
Step 2. Run a Survey and Stake Out the Layout
Hire a licensed surveyor or use in-house survey capability to lay out the racking grid. Drive stakes at each foundation location and tie them with string lines. The stakes should be driven deep enough to remain visible during the grading and compaction phases. Use color-coded flags to distinguish between pad locations, drainage lines, and utility crossings.
Staking serves two purposes. It keeps foundation pads in the correct positions relative to each other. It also shows where the rack rows will sit relative to existing fences, buildings, and access roads. If the site is large, stake the first and last rows first, then work inward. This catches layout drift before it becomes a problem across hundreds of feet. A small error in the first row can compound into a significant misalignment by the final row, making rack installation difficult or impossible without moving the foundations.
Step 3. Grade the Site for Drainage
Site grading is the process of shaping the earth so that rainwater moves predictably. For ground mount arrays, water should flow away from the foundation pads and not pool between rows. Pooled water increases the hydrostatic pressure on the pads and can cause the soil to erode away from the edges of the concrete.
A general target is a slope of two to five percent away from each pad. Steeper slopes can work, but they require more earthwork and can create erosion channels that undercut pads over time. Grade the entire area, not just the pad footprint. Water that runs across the site toward a pad will find a path under the slab or around the perimeter if the surrounding grade is flat.
Use a laser level or a rotary laser to grade the surface to the required elevations. Mark the high and low points on the ground with spray paint or markers. Check the drainage plan in the engineering set. It will show where water is expected to go and what structures are required. If the plan is vague, clarify it before grading is complete. Poor drainage is one of the most common causes of foundation failure in solar projects.
Step 4. Perform Soil Testing
Soil testing tells you what the ground can support. A geotechnical engineer or qualified lab will test the soil at the planned foundation depth. The results identify bearing capacity, moisture content, freeze depth, and whether the soil is expansive or unstable. The testing process usually involves taking undisturbed samples from multiple locations across the site and analyzing them in a laboratory.
The most common test methods involve taking undisturbed samples and analyzing them in a lab. The report will state the allowable bearing pressure in pounds per square inch. That number drives foundation size, pad thickness, and whether you need deep footings. If the soil is clay and sits high in the water table, shallow pads may heave in winter or sink in wet season. In that case, the engineering set must be revised before pouring.
Do not rely on visual inspection of the soil. A layer of good gravel can sit on top of poor silt. The testing must be done at the depth of the proposed foundation. If the design assumes a bearing capacity of 2,000 psi, but the testing reveals 1,000 psi, the foundation must be resized. This is not a minor adjustment; it changes the volume of concrete, the depth of excavation, and the cost of the project.
Step 5. Install Drainage and Erosion Controls
If the site has a natural slope or if grading creates flow paths, install drainage features. These can include French drains, swales, or graded swales with riprap. French drains are perforated pipes filled with gravel that carry water away from the foundation areas. Swales are shallow channels that direct runoff to a safe discharge point.
Erosion control is not optional on sloped sites. Without it, rain will cut channels into the graded surface. Those channels concentrate flow directly against foundation edges and can wash away backfill within a single storm. Use silt fences and sediment traps to prevent the soil from entering nearby waterways or property lines. These measures protect the site and ensure compliance with environmental regulations.
Check the drainage plan in the engineering set. It will show where water is expected to go and what structures are required. If the plan is vague, clarify it before grading is complete. Water management is a permanent feature of the site. It must be designed and installed correctly from the start.
Step 6. Compact and Level the Foundation Pads
After grading, compact the subgrade under each pad location. Use a plate compactor for small areas and a roller for larger pads. Compact in lifts of four to six inches. This ensures that the soil is dense and stable throughout the depth of the pad. Use a soil density tester to verify that the compaction meets the required standard.
Level the pad surface using the string lines and a straightedge. The tolerance should match the engineering drawing, typically within one or two millimeters per meter. If the subgrade is uneven, the concrete slab will be uneven, and the anchor bolts will not seat correctly. An uneven subgrade causes the concrete to crack or settle unevenly, which leads to anchor bolt misalignment.
Before pouring, check the level with a laser level or a long straightedge. Any high spots must be shaved down, and any low spots must be filled with a stable material and compacted. The subgrade is the foundation of the foundation. If it is not level and compact, the concrete will not perform as expected.
Step 7. Pour and Cure Foundations
Pour concrete only after the subgrade is compacted, level, and approved by the engineer of record. Formwork should be square and plumb. Anchor bolts should be set to the exact elevation shown in the drawings. Use a level and a string line to verify bolt height before the concrete sets. A bolt that is two millimeters high or low can prevent the base plate from seating flat. The rack will then carry uneven loads, and the array will not sit level.
Cure the concrete according to the mix design. Protect it from rapid drying in hot weather and from freezing in cold weather. Use curing blankets, wet burlap, or plastic sheeting to keep the concrete moist. Curing is not optional. It determines the strength the foundation will actually have. Concrete that dries out too quickly will have a lower compressive strength and a higher likelihood of cracking.
Common Mistakes That Cost Time and Money
The following errors are common on ground mount projects:
| Mistake | Consequence | How to Avoid It |
|---|---|---|
| Grading over hidden depressions | Water pools under pads, shifting footings | Clear and expose the site before grading |
| Skipping soil testing | Foundation designed for the wrong bearing capacity | Require geotechnical report before final design |
| Inaccurate staking | Racks misaligned, access routes blocked | Verify survey against engineering layout |
| Insufficient compaction | Differential settlement, cracked slabs | Compact in lifts and verify with a tester |
| Improper bolt elevation | Base plate does not seat, array sits uneven | Check bolt height before concrete sets |
Final Verification Before Pouring
Before concrete is placed, stop and verify the site. Check the following in order:
- All pads are staked, compacted, and level.
- Anchor bolts are set to the correct elevation and orientation.
- Grading slopes away from every pad.
- Drainage features are in place and flowing.
- The engineer of record has signed off on the subgrade.
A thirty-minute verification walk will save days of rework. If anything is off, fix it now. Once the concrete is poured, corrections are expensive and slow. You may need to break out the concrete, re-grade the pad, and re-pour. This is a costly and time-consuming process that is best avoided through careful pre-pour checks.
When to Call the Engineer Mid-Process
If you find a condition that does not match the drawings, stop and call the engineer of record. Examples include unexpected rock, a change in soil type, a shift in the water table, or a utility line that is closer than expected. Do not improvise. A small change in bearing capacity or pad depth can affect the entire foundation system. The engineer will tell you whether the existing design still holds or whether a revision is needed.
Ignoring these conditions can lead to structural failures. If the soil is softer than expected, the foundation may settle too much. If the rock is harder than expected, the excavation may be more difficult and expensive. The engineer of record is the only person authorized to make changes to the design. Do not make assumptions or rely on the judgment of the site crew.
Preparing for the Next Phase
Once foundations are poured and cured, the next step is rack installation. But that step depends on the foundation being exactly where the engineering set says it should be. Solar site prep is not a separate task. It is the foundation for everything that follows. If you get the site right, the rack goes up on schedule. If you get it wrong, you are fixing foundations after the array is already on the ground.
Frequently asked questions
How deep should ground mount foundations go?
Depth depends on local freeze line, soil type, and wind loads. The engineering set will specify the required depth. Do not guess.
What does a geotechnical report tell me?
It provides bearing capacity, moisture conditions, and recommendations for foundation type. It is the basis for the foundation design.
Can I grade the site myself?
Yes, but you need the correct slope and drainage plan. If you are unsure, have the engineer or surveyor review the grade before you compact.
How long does concrete curing take?
Curing time depends on the mix design and ambient temperature. Typically it ranges from several days to several weeks. Follow the engineer instructions.
Do I need a permit for site grading?
In most jurisdictions, yes. Check with the local building or public works department before mobilizing earthmoving equipment.