Fixing Loose Solar Fasteners After High Wind Events
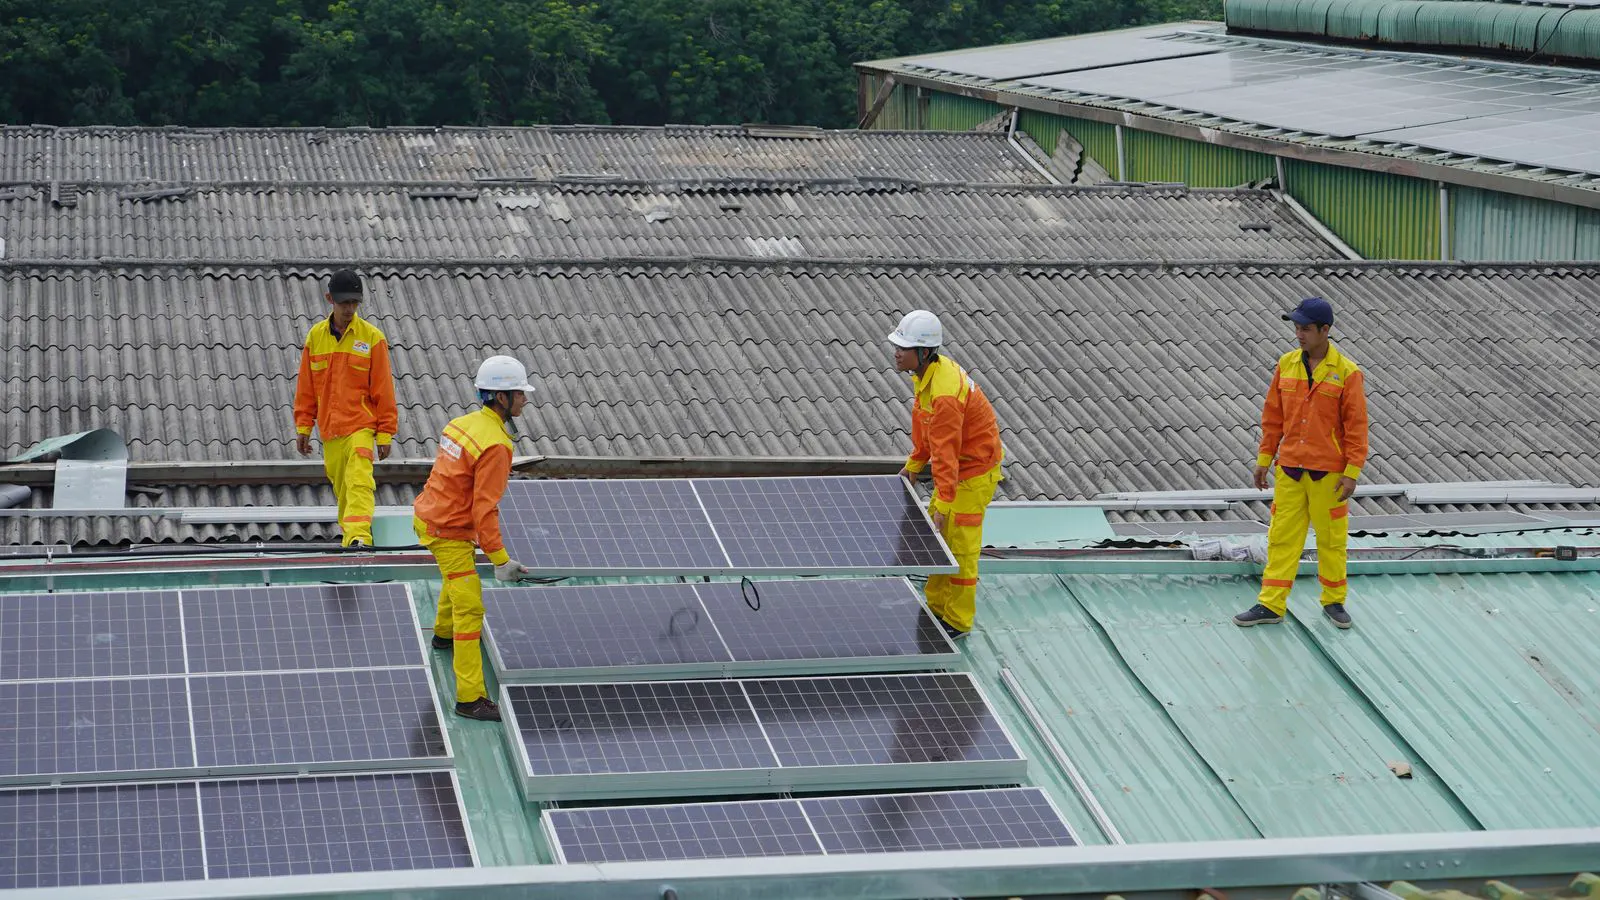
After strong winds, check solar fasteners for movement, stripped threads, or bent tabs. Use a torque wrench to re-tighten hardware according to manufacturer specs. Replace damaged parts and document the work to protect warranty coverage and system safety.
- Inspect every fastener after major wind events, focusing on roof penetrations and edge zones.
- Re-tighten hardware to specified torque values using a calibrated wrench, not a standard ratchet.
- Replace any fastener with stripped threads, bent tabs, or corroded surfaces immediately.
- Document all findings and repairs in the project maintenance log for future reference.
- Schedule regular post-storm inspections to catch small issues before they become roof leaks.
Strong winds do more than push on a solar array. They create differential pressure that pulls mounting hardware away from the roof surface. This force is known as roof uplift. When the wind hits the leeward side of a structure, pressure drops below ambient levels. The higher pressure on the windward side pushes the array forward, while the low pressure behind it pulls the fasteners out. This combination stresses every bolt, screw, and tab in the racking system.
Most failures after a storm do not happen in dramatic ways. A fastener does not rip out of the deck. Instead, the thread engagement loosens slightly. The tab bends a fraction of a millimeter. The washer shifts. Over time, these small movements allow water to wick into the roof assembly. A loose fastener is a hidden leak path. It is also a structural weakness that reduces the safety margin of the entire array.
This guide covers how to identify those signs and how to fix them. It assumes you are working with a standard ground-mounted or roof-mounted PV system. The same principles apply to commercial arrays, but roof work requires a licensed roofer to assess the deck condition after any penetration is opened.
What symptoms indicate a loose solar fastener?
The first sign is usually visual. Look at the fastener heads from the ground with binoculars or a zoom lens. A properly torqued fastener sits flush against the washer. A loose one may sit slightly proud. More often, the head tilts. If the fastener has a slotted head, the slot may appear angled rather than straight.
Move to the roof with proper safety gear. Check the following areas first:
- The front edge of the array, where wind pressure is highest.
- The corners of the roof, where wind flow accelerates around edges.
- Penetrations through flashing or ridge caps.
- Fasteners attached to wood furring strips rather than directly to the deck.
Watch for the washer. A neoprene or EPDM washer should sit flat. If it is twisted, compressed unevenly, or torn, the fastener has moved under load. The metal tab on the fastener leg may also show a visible bend. A straight tab indicates it has not been stressed beyond its elastic limit. A bent tab means the metal has yielded. Do not try to straighten it with pliers. Replace it.
Listen for creaking. Walk the roof during or after a wind event. If the racking makes a low creaking sound, the connections are not rigid. That sound comes from metal-on-metal contact as the array shifts slightly with the wind.
How does wind load affect different fastener types?
Not all solar fasteners behave the same way under roof uplift. The failure mode depends on the material, the thread geometry, and how the fastener is embedded in the roof.
Self-drilling screws into wood are the most common roof fastener. They rely on friction and thread engagement. Under uplift, the screw tries to pull out. If the thread depth is less than the recommended embedment, the screw can back out of the wood. The wood fibers compress around the threads, reducing grip. Once that happens, the screw spins freely. You will feel resistance when you try to tighten it, but the screw will not bite.
Concrete anchors use a different mechanism. A wedge or sleeve expands inside a drilled hole. The expansion creates radial pressure. Wind load pulls the anchor body upward. If the hole diameter is larger than specified, or if the concrete substrate is weak, the anchor can shear out. The fastener may remain attached to the racking, but the anchor will no longer hold against the substrate.
For metal roof systems, the fastener often attaches to a purlin or standing seam. The uplift force pulls the fastener leg through the metal. If the leg is not long enough, it will bend. If it is too long, it may pull through the purlin and hit the deck below. Both outcomes are bad. The first creates a structural failure. The second creates a puncture in the deck.
How to inspect and repair loose fasteners safely
Start from the ground. Use a telescopic inspection tool or a long-handled brush to check fastener heads for obvious tilt or corrosion. Mark any fastener that looks off from the ground. Do not climb the roof to check every single fastener if the visual scan shows no issues. Focus your roof work on the flagged locations.
Once on the roof, follow these steps:
- Confirm the fastener is actually loose. Turn the head with a wrench. If it does not move, it is tight. Do not over-tighten a fastener that is already at torque.
- If it moves, back it off completely. Clean the threads and the roof surface. Look for wood splinters, old washer debris, or paint.
- Inspect the threads. Run your finger along the thread. If you feel a gap, the thread is stripped. Replace the fastener.
- Inspect the roof surface. If the hole is larger than the fastener diameter, the fastener will not grip. You may need a larger diameter fastener or a backing plate.
- Install a new washer if the old one is damaged. Use the same material as specified in the installation manual.
- Tighten to the specified torque. Use a torque wrench. Do not guess. A standard ratchet wrench cannot guarantee the correct torque.
If the fastener is a concrete anchor, you must check the substrate. Tap the anchor with a small hammer. A solid sound means it is seated. A hollow sound means the anchor is not tight in the hole. You will need to remove the anchor, assess the hole, and reinstall it with proper epoxy or a new anchor type.
What to do when a fastener is damaged beyond repair?
Sometimes the fastener is not just loose. It is broken. The leg may have snapped. The head may have stripped. The thread may be gone. In those cases, you cannot simply re-tighten. You must replace the component.
For a broken fastener leg, remove the remaining piece from the racking. Drill out the hole if the broken piece is stuck. Use a drill bit that matches the fastener diameter. Clean the hole thoroughly. Install a new fastener of the same type and size. Do not use a smaller fastener to fit a larger hole. The reduced thread engagement will fail under load.
For a stripped thread in the roof material, you have a few options. If the wood is soft, you can pack the hole with wood glue and small wood shavings. Let it dry, then drill a pilot hole and install a new fastener. If the wood is too damaged, you must install a backing plate. Cut a piece of plywood or metal plate that is at least three times the diameter of the fastener. Screw it to the deck with multiple new fasteners, then attach the solar fastener to the plate.
For a concrete anchor that has pulled out, the hole is compromised. You cannot simply re-drill the same hole. The new hole will be slightly larger because the old one is already damaged. Use a larger diameter anchor or a chemical anchor with epoxy. The epoxy will fill the void and create a new bond. Follow the manufacturer instructions for cure time. Do not load the array until the epoxy is fully set.
How to prevent future fastener loosening
Prevention is easier than repair. A few habits at installation and during maintenance will keep fasteners secure for the life of the system.
Use the correct torque. This is the single most important factor. A fastener that is too loose will vibrate and work itself out. A fastener that is too tight can strip the threads or damage the washer. The installation manual specifies a torque value. Use a torque wrench. Calibrate the wrench annually.
Use the correct washer. The washer spreads the load over a larger area. It also seals the hole. If you skip the washer, the fastener bears directly on the roof material. The material compresses under load, and the fastener loses grip. Use the washer specified in the manual. Do not substitute a larger or smaller one.
Check the embedment depth. For wood, the thread must engage at least the minimum depth required by the fastener manufacturer. If the roof is thin, you may need a longer fastener or a different type. For concrete, the hole depth must match the anchor length plus the embedment depth. If the substrate is too shallow, the anchor will not have enough material to grip.
Schedule post-storm inspections. After a major wind event, walk the roof and check the flagged areas. Even if the array looks fine, a fastener may have loosened slightly. Catching it early prevents a larger failure.
How to document the inspection and repair process
Paperwork is not just a legal formality. It is a record of the system condition. If a fastener fails later, you need to know what you checked and when. You also need to know what you did to fix it.
Keep a maintenance log. Record the date of the inspection. List the fastener locations that were checked. Note any findings. For example: “Fastener at row 3, panel 7. Washer twisted. Re-tightened to 12 Nm.” If you replaced a fastener, note the part number and the date. Take photos before and after the repair. Store the photos in a project folder.
This documentation protects your warranty. Many solar equipment warranties require that maintenance be performed by a qualified installer. If you do the work yourself, keep records that show you used the correct parts and followed the manufacturer instructions. If a fastener fails and the roof leaks, the documentation will show you addressed the issue. If you did not address it, the warranty may be void.
When to call a professional
There are situations where you should not attempt the repair yourself. If the fastener is embedded in a standing seam roof, the repair may damage the seam and create a leak. A roofer can install a special seam clip or a flashing detail that allows the fastener to attach without piercing the seam.
If the roof is steep, you should not climb it. Hire a qualified rigger or roofer. They have the gear and the training to work safely. If the array is on a commercial roof, the structural engineer of record must be notified of any damage. They may need to assess the deck and the racking to confirm the system is still safe.
If you find multiple loose fasteners across the array, do not just fix the ones you see. There may be hidden damage. The wind may have loosened every fastener by a small amount. A professional inspection with a torque wrench on every fastener is the only way to be sure.
Wind events are unpredictable. You cannot stop the wind. But you can make the system resilient. Check your fasteners. Know what to look for. Fix what is loose. Keep records. A solar array that is well maintained will outlast the roof it sits on.
Frequently asked questions
How often should I check solar fasteners after a storm?
Check immediately after a major wind event. If no issues are found, you can wait until the next seasonal inspection. In high wind zones, a quarterly check is a good practice.
Can I tighten a fastener that is already at torque?
No. Over-tightening can strip the threads or damage the washer. If a fastener is not loose, leave it alone. Do not re-torque hardware that is already secure.
What if the fastener hole in the roof is too large?
Do not use a smaller fastener. Install a backing plate or use a larger diameter fastener that matches the hole size. The goal is to ensure the thread engages the material properly.
Do I need to replace the washer if it looks fine?
If the washer is flat, unbroken, and made of the correct material, you can reuse it. If it is twisted, torn, or compressed unevenly, replace it.
How do I know if a concrete anchor has failed?
Tap the anchor with a small hammer. A solid sound means it is seated. A hollow sound means it has pulled out. You will need to remove it and install a new anchor with proper epoxy.